
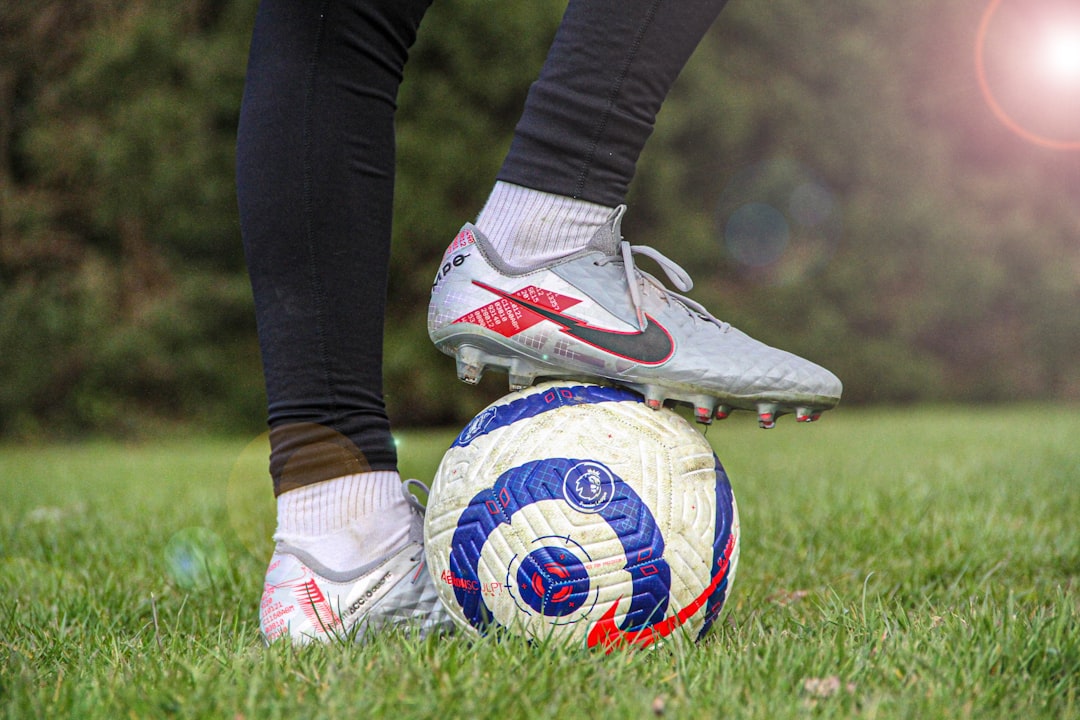
How to Break In New Soccer Cleats Without Getting Blisters
New cleats can feel exciting — better touch, sharper looks, and confidence before the next practice or match. They can also rub in the wrong places and leave you sidelined with painful blisters. With the right approach you can speed up the break-in process while protecting your feet.
Below are practical, step-by-step methods that work for leather, synthetic, and hybrid soccer cleats, plus shoe-care tips and preventative measures so you stay on the pitch pain-free. If you’re shopping gear or accessories while you break in new cleats, check the broader selection at Soccer Gear Scout.
Know Your Cleat Material and Fit
Before you start any break-in routine, identify the material (full-grain leather, kangaroo, synthetic) and the fit (narrow, regular, wide). Leather usually stretches and molds to your foot; synthetics tend to need mechanical shaping or heat-based methods. If your cleats are too tight across the forefoot or heel from the outset, no amount of breaking-in will make them comfortable — consider exchanging for a different size or model.
Progressive Wear: Short Sessions First
Don’t wear new cleats for a full game on day one. Start with short, controlled sessions: 20–30 minutes of light drills or walking around the house. Gradually increase time over 4–7 days. This progressive approach lets materials flex without causing prolonged friction that forms blisters.
Use light technical sessions — passing, dribbling and short sprints — rather than 90-minute scrimmages while the cleats are still forming to your foot. If you’re doing agility drills as part of your break-in plan, a focused set like an Agility Ladder, Soccer Training Set is ideal for short, repeatable movements that don’t overload hotspots.
Target Heel and Toe Areas Strategically
Most blisters come from heel slip and toe box rub. To minimize risk:
- Use thicker socks or double-layer soccer socks during early sessions to reduce friction.
- Apply low-profile moleskin or protective tape to probable hotspots before you feel pain.
- For stubborn heel stiffness, wear the cleats with a cushioned insole for a few sessions to reduce heel slip while leather relaxes.
For players who need extra ankle support while breaking in new footwear, look into Soccer Ankle Braces that fit inside cleats and stabilize movement, lowering friction risk at the heel and side of the foot.
Gentle Home Methods That Work
Skip aggressive heat or wet treatments that can warp cleat shape. Try these safe options first:
- Wear them around the house with thicker socks while doing light activity.
- Use a shoe stretcher or insert a rolled towel into specific tight areas overnight.
- Apply a leather conditioner sparingly for leather cleats to soften material and speed molding.
If you need to speed up lateral comfort for sharp footwork, combine stretching with short, targeted agility work using a Soccer Speed and Agility Sets so the cleats form under realistic movement patterns.
Tape, Padding, and Sock Strategies to Prevent Blisters
Taping and padding are first-line defense. For toes and small hotspots, an inexpensive solution is protective athletic tape applied directly to the skin. A reliable option is OK TAPE 8 Rolls Athletic Tape — it’s thin yet protective and can reduce friction without changing fit significantly.
Other tips:
- Use a second, thinner sock under your game socks (double-socking) to reduce shear between foot and cleat.
- Apply blister pads or moleskin on areas that feel hot the moment you detect increased friction.
- Keep toenails trimmed to avoid pressure on toes that can increase blister risk.
Keep Cleats Dry, Clean, and Well-Stored
Moisture increases friction and accelerates blister formation. After each session:
- Remove insoles and let them air-dry.
- Use a cloth to wipe out mud and sweat; avoid direct heat sources that can damage materials.
- Store cleats in a bag with ventilation or a dedicated equipment pack — for example, an Athletico Youth Soccer Bag has a separate cleat compartment to keep moisture away from other gear and let airflow help them dry.
When to Use Inserts, Insoles, or Professional Stretching
If you feel persistent pressure on the midfoot or arch that interferes with comfort, a thin, supportive insole can redistribute pressure and reduce rubbing. For stubborn tight spots that don’t yield to home methods, consider professional shoe-stretching from a cobbler experienced with athletic footwear. Avoid over-thick insoles that make the shoe feel too tight — the fix should improve comfort without creating new hotspots.
Post-Break-In Care: Maintain Fit and Comfort
Once your cleats are comfortable, preserve that fit by:
- Rotating between a second pair of shoes if you train daily to reduce constant compression of the same areas.
- Cleaning and conditioning leather cleats periodically to prevent stiffness returning.
- Inspecting seams and studs so no shifting or internal roughness creates new friction points.
If you’re a keeper who also needs protective gear, make sure protective pieces don’t interfere with cleat fit — for example, padded goalkeeper clothing or elbow/arm gear shouldn’t bunch inside the boot area. Explore relevant protective options like Storelli BodyShield Arm Guards for goalkeepers who demand both protection and unobstructed movement.
Checklist: Quick Steps Before Every Session
- Inspect socks for holes and choose appropriate thickness.
- Tape hotspots with OK TAPE or apply moleskin as needed.
- Loosen laces, put cleats on, then fasten snugly — not overly tight.
- Warm up with short, controlled drills (use an agility set if available).
- Remove insoles to air after use and store cleats in a ventilated bag.
- Address any new pain immediately; don’t push through developing blisters.
FAQ
- How many wears until cleats are broken in? Typically 4–10 short sessions; leather may take longer to mold.
- Is it okay to use a hairdryer or oven to stretch cleats? Avoid direct heat; it can shrink or warp materials. Use gradual methods like conditioning or a shoe stretcher.
- Can I wear running shoes to speed training while breaking in cleats? Yes — rotate training shoes to avoid cumulative foot stress while your cleats form to your feet.
- Should I cut insole foam to reduce pressure? Trimming insoles can work if done carefully; consider thin aftermarket insoles instead of removing structural support.
- What prevents heel blisters specifically? Use heel-specific moleskin, ensure firm heel lock with lacing, and consider an ankle brace for extra stabilization.
Conclusion — Practical Takeaway
Break in new cleats gradually, protect likely hotspots with tape or pads, and use short technical sessions to form the shoe under real movement. Keep cleats dry and well-stored, and address discomfort early — conservative, consistent steps prevent blisters far better than quick fixes. If you need training tools or protective accessories while you break in shoes, consider agility gear, storage bags, and ankle supports available across the site like the Jerify Stadium Seat Cushions, Shin Guard Sleeves, and structured training sets listed above to support a smooth, blister-free break-in.
Products Featured in This Article
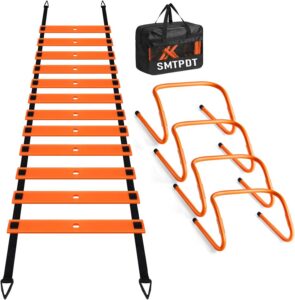
Agility Ladder,Soccer Training Equi…
Newly Upgraded Durable Hurdles–Stronger & More Reliable:We’ve upgraded our agility hurdles with premium materials and a…
Storelli BodyShield Arm Guards, Pro…
Storelli’s Bodyshield Arm Guards are the best in impact and turf-burn protection, absorbing up to 90%…
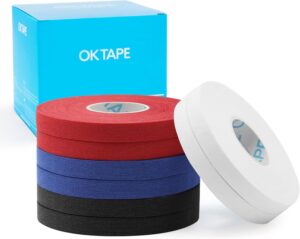
OK TAPE 8 Rolls Athletic Tape, 0.3 …
Product description Our Sports Tapes Size 0.3″ x 45′, 8 Rolls, non-stretch Size 1.5″ x 45′,…
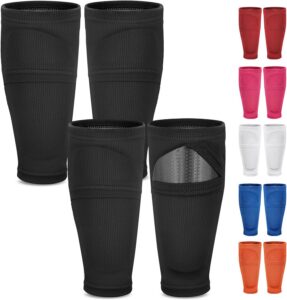
Shin Guard Sleeves 2 Pairs, Soccer …
***DOES NOT INCLUDE THE INSERTS*** Built for young athletes, Mirchro Kids Soccer Shin Guard Sleeves with…
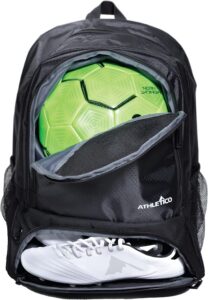
Athletico Youth Soccer Bag – …
Product description Athletico League Youth Soccer Backpack | Holds Soccer Ball / Basketball / Volleyball +…
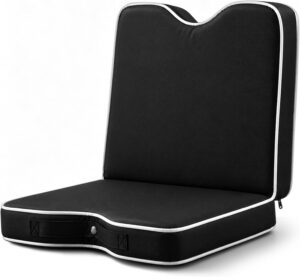
Jerify Stadium Seat Cushions, Bleac…
Small parts included, please keep them away from little kids to avoid swallowing risk.3 In 1…